How To - Delivery Schedules
-
Select Admin Functions, followed by Delivery Schedules
-
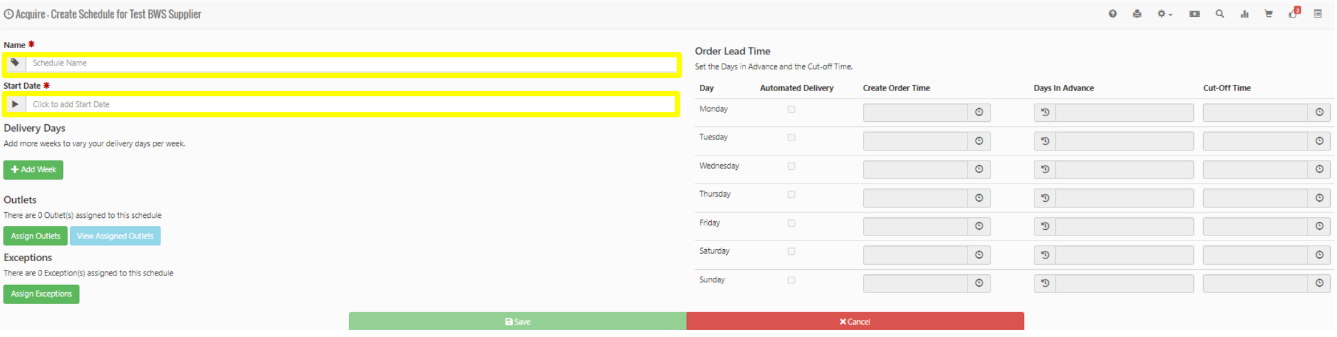
Select a Supplier then select Create Schedule
-
Insert the Supplier Name and Delivery days associated, then select a Start Date
-
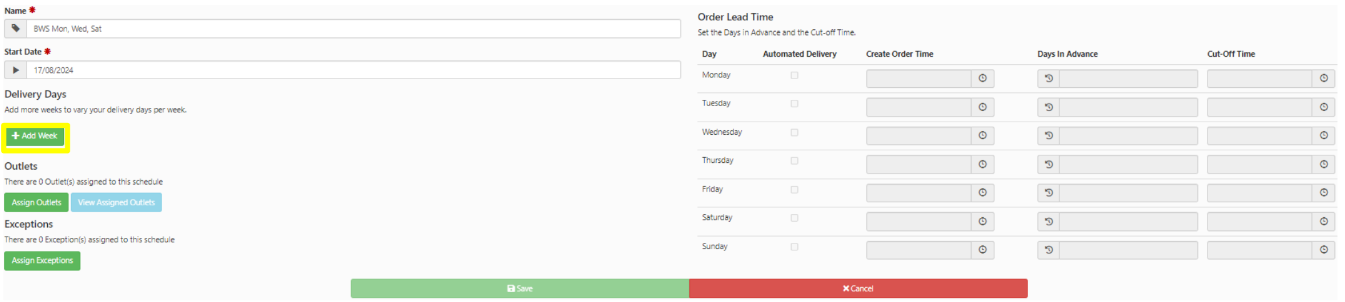
Select Add Week.
-
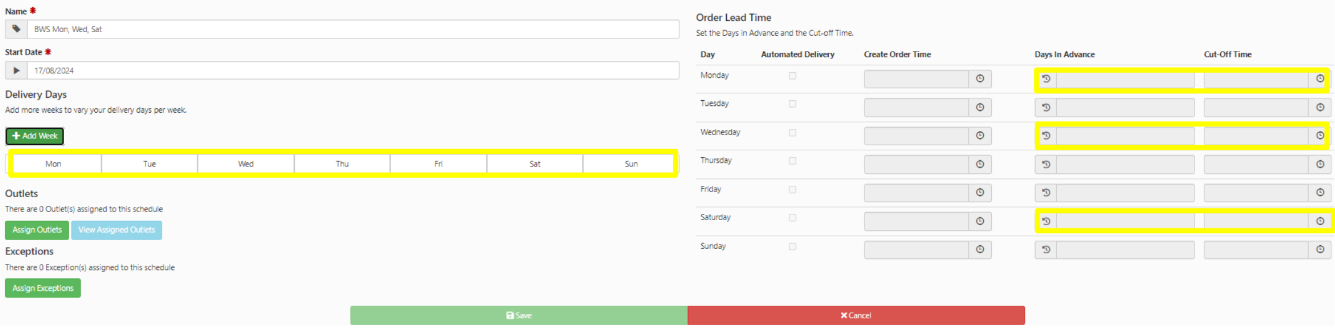
Select the Delivery Days on the left, then input the Days in Advance and Cut off Time on the right.
-
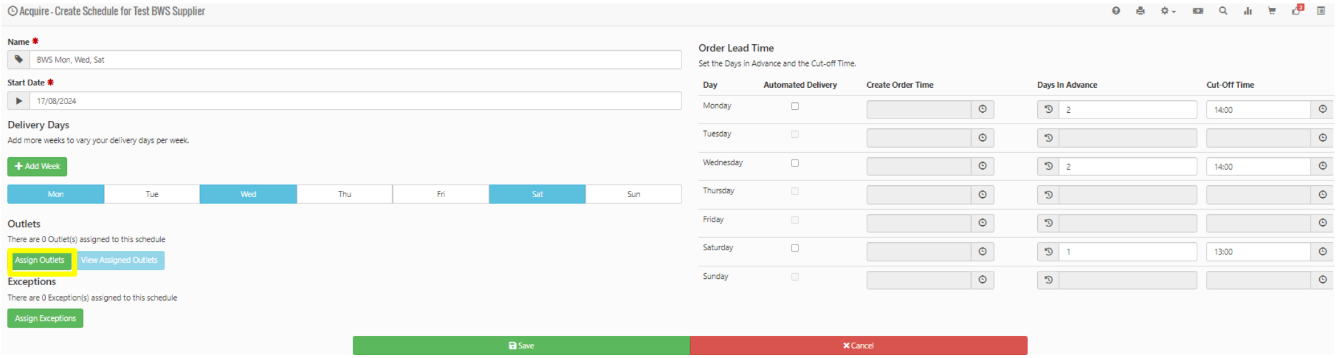
Your schedule will now look like the below image. Select Assign Outlets
-
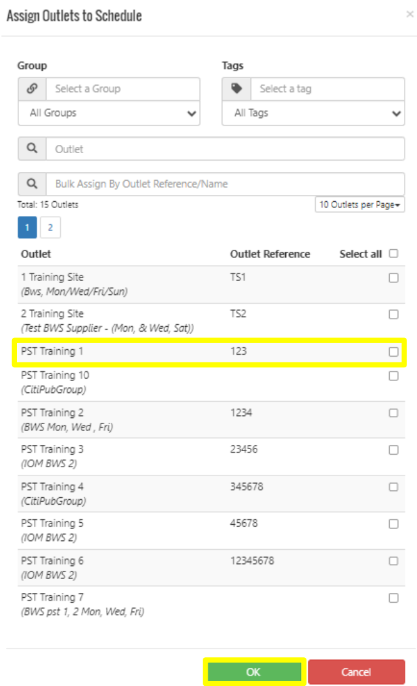
Select the required Site/s then select OK
-
Lastly, select Save.
-
Your Delivery Schedule for the required supplier has been created and assigned to the required site.